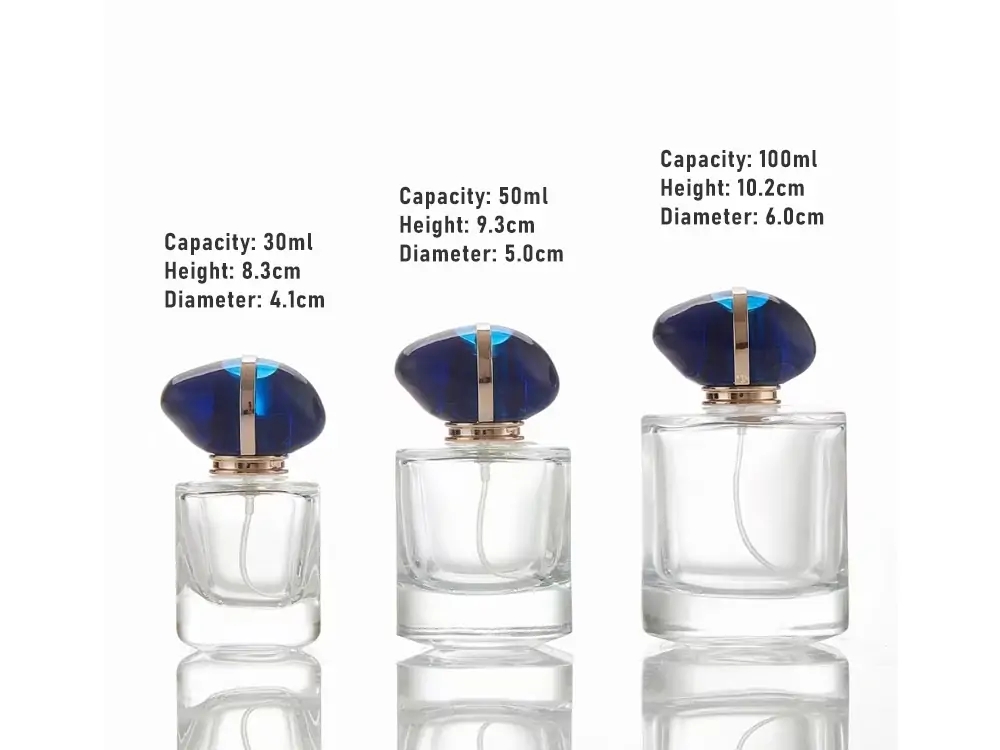
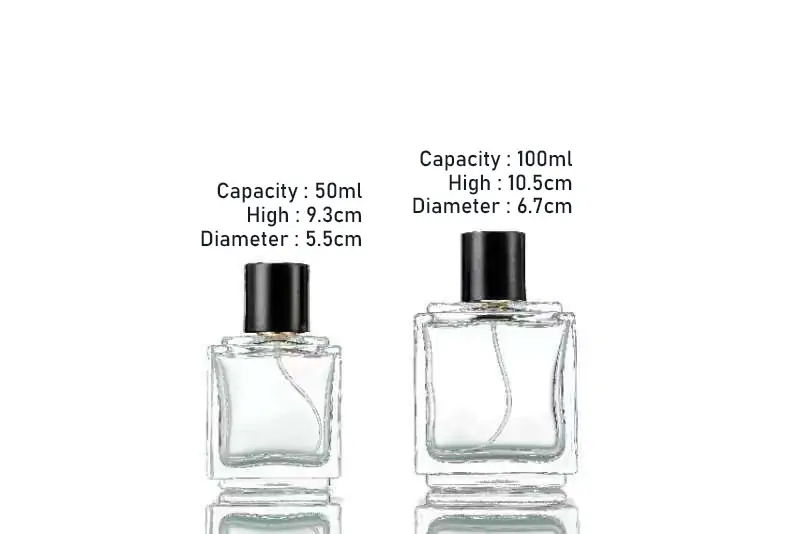
The full process of customizing glass bottles is revealed: the transformation from creative sketches to exquisite products in hand
Many customers often only care about price and delivery time when they first encounter glass bottle customization, but overlook the complex production logic behind it. In fact, a perfect customized glass bottle is a precise combination of industrial design and manufacturing processes. Understanding the entire process can help you better control project progress and quality.
Step 1: Requirements Communication and Creative Design (1-3 days)
It all starts with a sketch or a concept. Customers need to clarify the capacity, purpose, target audience, and budget. A professional design team will provide 3D modeling drawings based on this, displaying three views, sectional views, and the placement of the logo of the bottle shape. This step is crucial and requires repeated confirmation of proportions and details, as once the mold is opened, the cost of modification is extremely high.
Step 2: Mold development (15-25 working days)
This is the core process of customization. According to the 3D drawings, engineers will use aluminum alloy or cast iron to make molds. The accuracy of the mold directly determines the quality of the bottle. During the mold opening process, it is necessary to reserve the shrinkage rate of the glass after cooling (usually 1.2% -1.5%). After the mold is completed, a trial mold will be conducted to produce the first sample for customer confirmation.
Step 3: Sample confirmation and adjustment (3-5 days)
After receiving the first sample, the customer needs to test it from multiple dimensions such as feel, capacity, center of gravity, and sealing. For example, for sauce bottles, it is important to ensure smooth pouring without dripping or leaking; For wine bottles, it is necessary to test the fit between the bottle mouth and the bottle stopper. Any minor adjustments may require rework of the mold.
Step 4: Batch production and process processing (15-30 days)
After sample confirmation, enter mass production. Glass raw materials are melted into liquid form in kilns above 1500 ℃, and then pressed or blown into shape using a column type bottle making machine. After being fired, the bottle needs to go through an annealing furnace to eliminate internal stress and prevent self explosion. Subsequently, according to the design requirements, further deep processing is carried out, such as spraying (color spraying, glaze spraying), printing (screen printing, pad printing), hot stamping or sanding treatment.
Step 5: Strict quality inspection and delivery (3-5 days)
Before leaving the factory, the finished product must go through multiple quality inspection checkpoints. Including: visual inspection (no bubbles, no stones, no wrinkles), size measurement, stress testing (polarizer detection), impact resistance testing, and sealing testing. Qualified products will be carefully packed into shock resistant cardboard boxes or trays, ready to be delivered to customers.
Conclusion
The journey of customizing glass bottles from a piece of soil (mold material) to a bottle of fine wine (finished product) is full of industrial beauty. Choosing a manufacturer with a complete industrial chain and rich experience is the key to ensuring a smooth journey.